A Fuel Tank Upgrade to Increase Capacity and Extend Your Range
Looking for a way to get more miles between fill-ups? A larger fuel tank won’t change your MPG, but it will change how far you can drive on every tank and even help you save money by choosing where you fill up. With more range, you’re not stuck stopping at the closest station; you can wait for the next exit, the next town, or even the next state if prices are better.
One of the most common concerns we hear is that aftermarket tanks are difficult to install. In this guide, we’ll walk you through the process and show how straightforward it can be to increase your truck’s fuel capacity, and in some applications, even double it.
Follow the installation guide below to see what it takes to equip your truck with a Titan Fuel Tank.
Easily Increase Your Fuel Capacity With A Titan Fuel Tank
A common question we get is: “Is installing a Titan Fuel Tank hard?” For most vehicles, the answer is no – it’s easier than you might think. How do we know? Because we’ve installed them ourselves. So have many customers. Why do we say installation isn’t hard? For starters:
- In most applications, this tank is made to reuse your truck’s stock components.
- It’s a straightforward process if you follow the included step-by-step instructions.
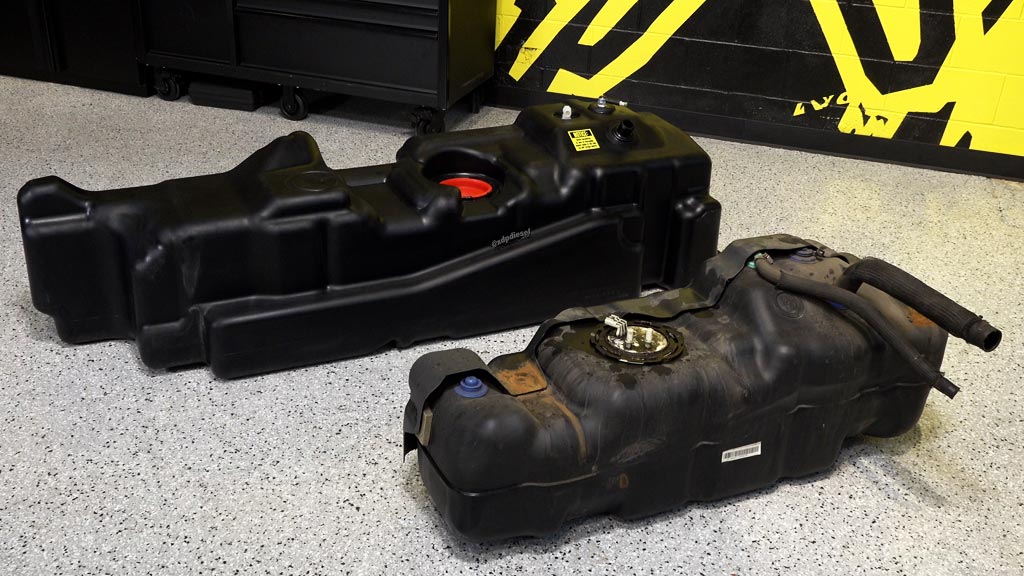
- Mid-Ship tanks fit directly into the factory tank location, even though they can have up to double the capacity.
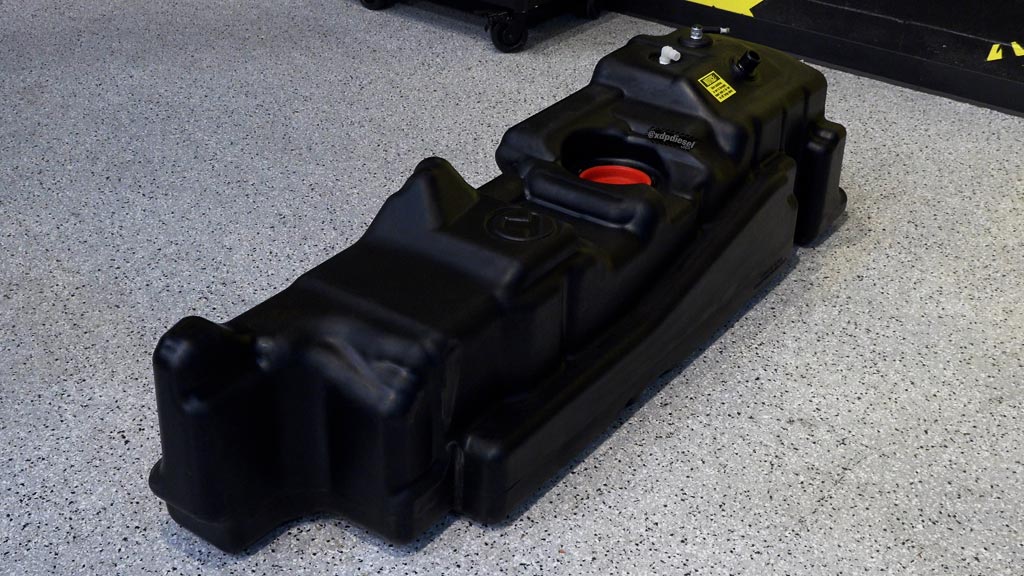
- Titan Tanks pack serious capacity and are extra durable, thanks to the XLHDPE – High-Density Cross-Linked Polyethylene construction.1
But Don’t Take Our Word For It
We know the internet loves receipts, so we got the full installation on camera. Check out the install we did, showing you exactly how easy it is to upgrade your fuel tank without turning your garage into a mountain of tools and parts.
Why DIYers and Pros Love Titan Tanks
Let’s be real here – you’re swapping out your fuel tank because you want:
- Greater capacity – because stopping every few hundred miles to refill the tank is for rookies.
- A tank that fits like the original – no modifications = no headaches.
- An install you can handle without taking a week from work because you can’t get that last bolt to line up.
Why Titan Mid-Ship Fuel Tanks Are Different
The mid-ship line is designed for one purpose: to give you more fuel capacity in an under-body fuel tank. Titan knows you want a bigger fuel tank, not a big headache.
- Direct bolt-in replacements for your factory tank.
- Made with molecularly bonded, corrosion-proof, high-density cross-linked polyethylene – aka XLHDPE – so they are super tough.
- Designed to reuse existing components, like your stock sending unit and some hardware.
- Titan Fuel Tank bodies are warrantied for life.
In other words, Titan built these with the end user in mind.
What You Need to Install a Titan Fuel Tank
Let’s start with what you don’t need: a mechanic’s toolbox with every tool and gadget known to man. In reality, you don’t need much to successfully swap from your average OEM fuel tank to the large-capacity Titan Mid-Ship Tanks. Also, no welding rigs or PhD in mechanical engineering required.
- While a vehicle hoist and transmission jack are ideal, hand tools will get the job done.2
- Basic hand tools: wrenches, sockets, and in some cases, a torque wrench (to tighten the fuel seal to spec on select models).
- A fuel line disconnect tool.
- An extra set of hands makes the job easier, especially when maneuvering the tank into place.
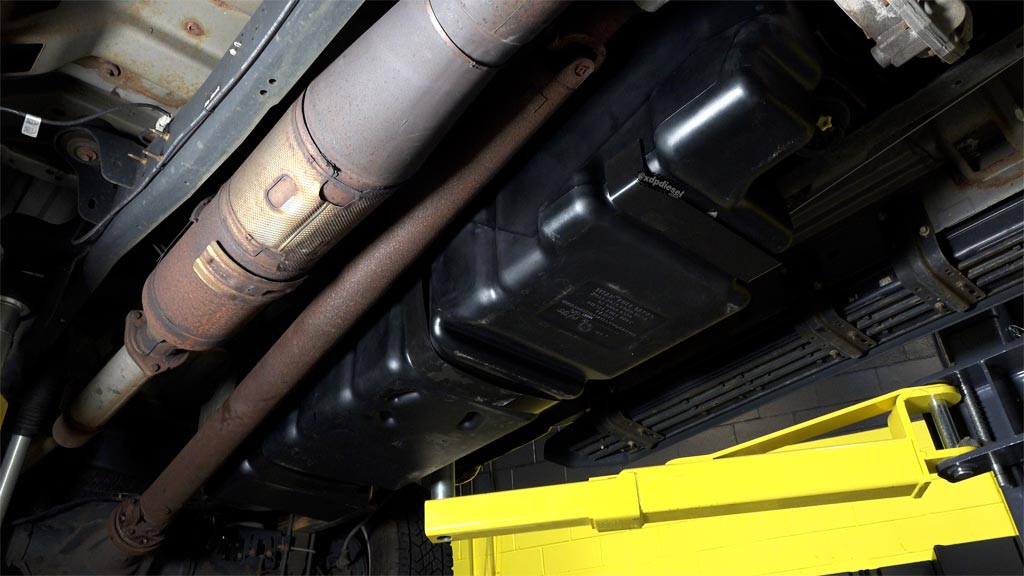
Installation Process: How to almost double your fuel capacity without removing the bed
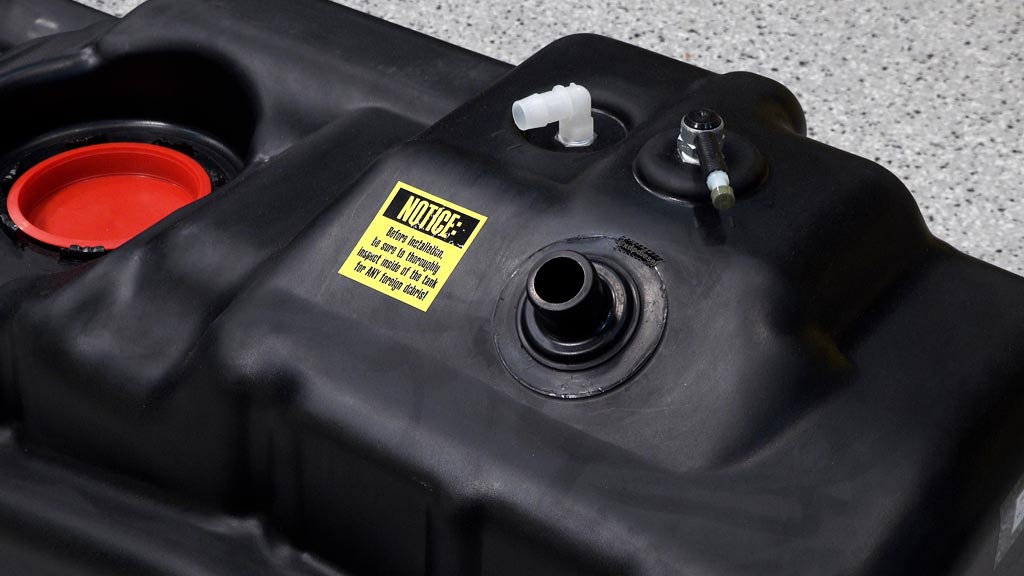
Important notice: Before installation, be sure to thoroughly inspect the inside of the new Titan Tank for ANY foreign debris!
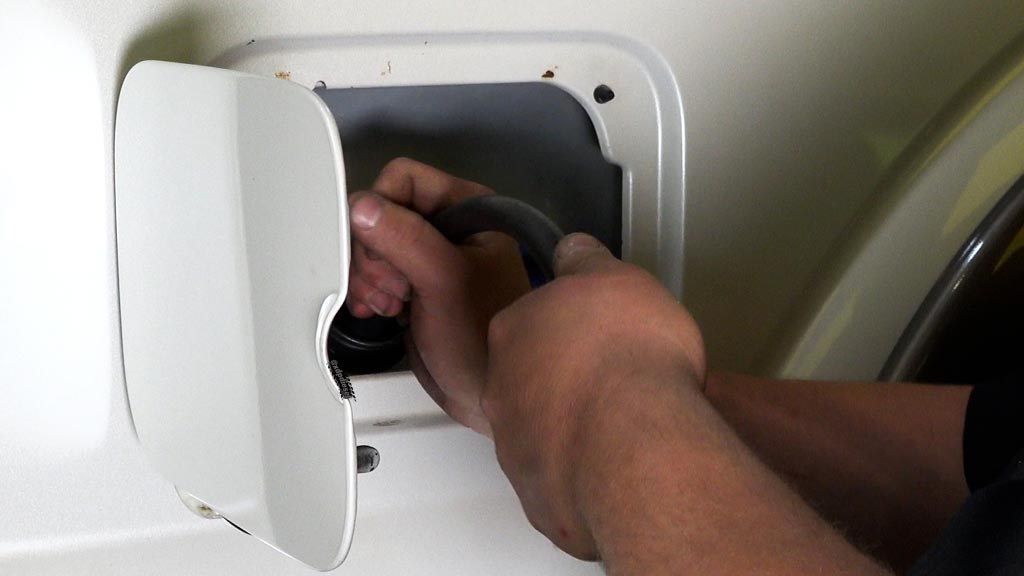
- Drain the old tank – you don’t want to wrestle with a tank full of fuel. Less weight = less mess = less swearing.
- Disconnect hose clamps for the vent lines and the fill hose. A flathead screwdriver or small socket will get the job done. Careful with the lines – you’ll be reconnecting them later.
- If your truck has a skid plate protecting the fuel tank, remove it now to access the old tank. Keep the hardware handy, but note that in most cases, the skid plate will not fit over the larger Titan Tank once installed. Fitment depends on your truck’s year, make, and model.
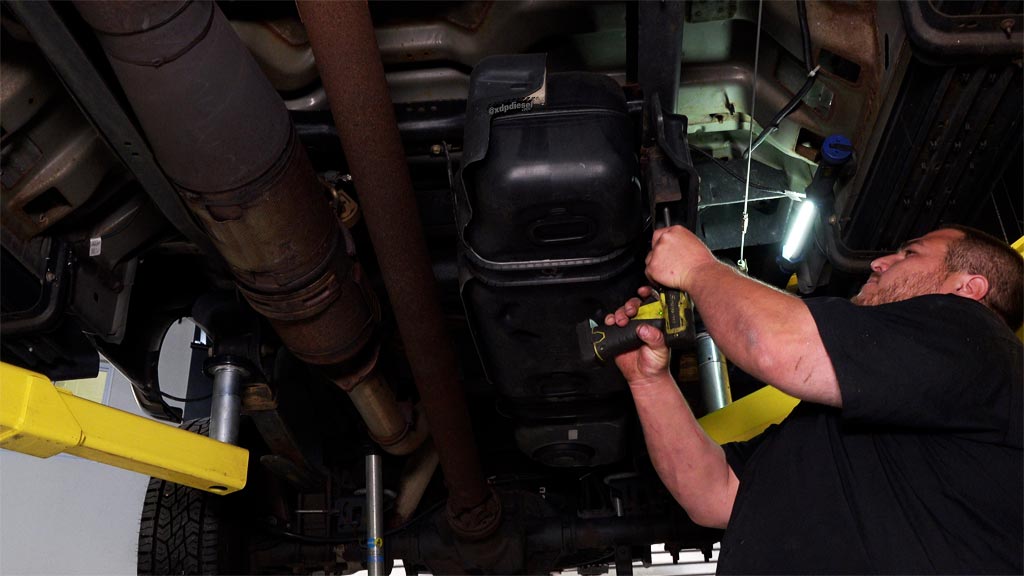
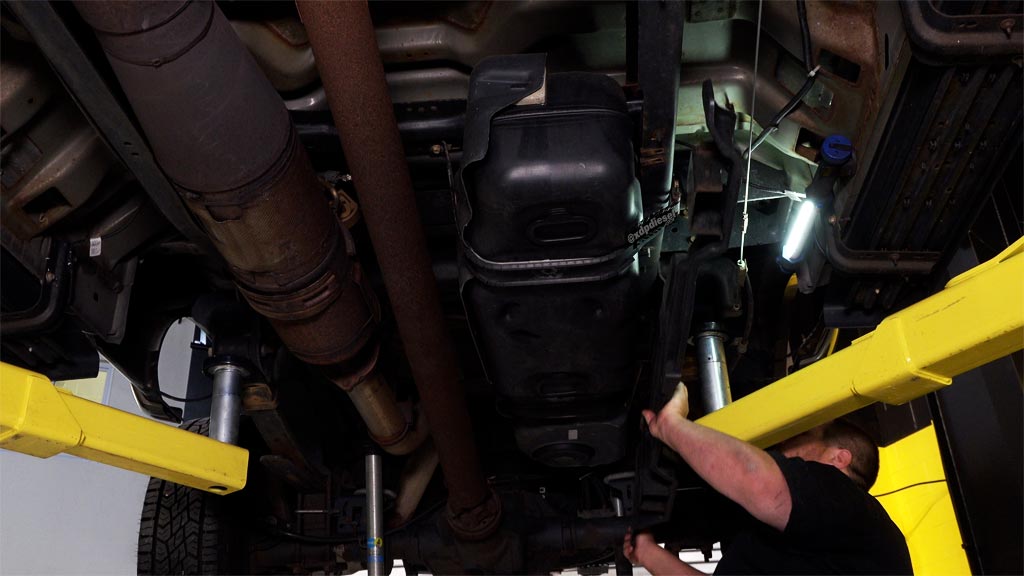
- Place a transmission jack (or floor jack with a wide platform) beneath the fuel tank. This will hold the tank steady as you lower and raise it.
- Drop the factory tank (save the hardware) about a foot to get access to the top of the tank.
- Disconnect the wiring harness and fuel feed/return line fittings at the sending unit. Go ahead and lower the tank.
- Transfer the stock sending unit from the old tank into the new one.
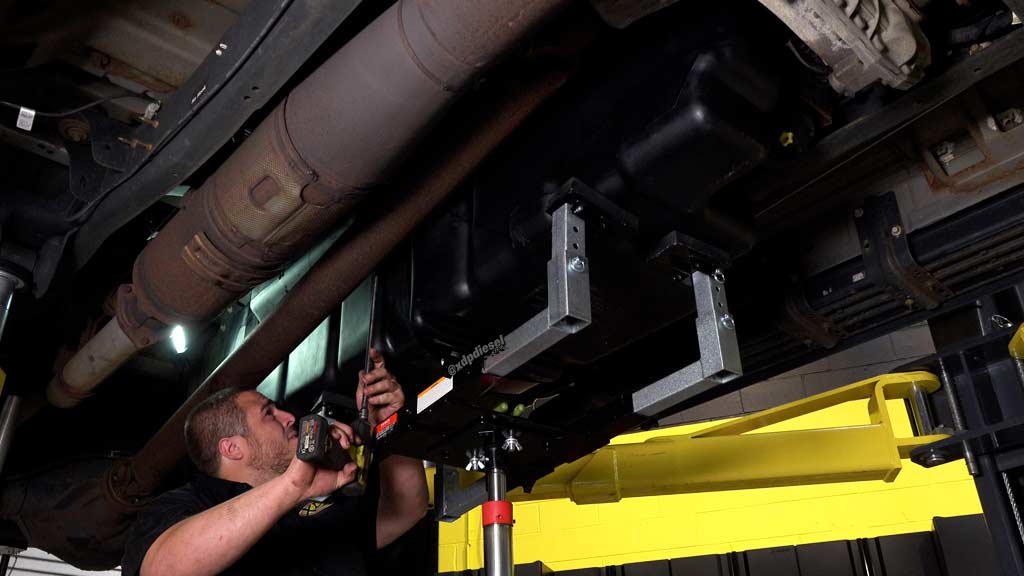
- Position the Titan Tank in place and install the new straps (tank support) that are made to fit like they came from the factory.
- Reconnect all lines and wiring. Make sure these connections are snug and secured correctly – these parts keep fuel where it belongs.
- Fill’er up and admire your handiwork.
Keep in mind – these steps are a quick overview of general tank installation. Be sure to follow the specific, step-by-step instructions that come with your particular Titan Fuel Tank.3


Pro Tips for a Smooth Installation:
- Work on a level surface so your jack and tank remain steady.
- Keep your hardware organized – a magnetic tray works wonders.
- While your fuel gauge will work correctly, your distance to empty (range) will need to be recalibrated (see specific tank/truck for details).
- Watch our video first so you know what to expect.
Bottom Line
A Titan Fuel Tank checks all the boxes. If you’re a DIY’er and want to make it a weekend project so you can get out of mowing the yard, fine, we aren’t here to judge. But you’ll see that Titan Fuel Tanks utilize common sense design features, which simplify installation for both the professional shop and at-home enthusiast.

References:
1. https://titanfueltanks.com
2. https://titanfueltanks.com/pub/media/instructions/7020299.pdf
3. https://titanfueltanks.com/installation