One common issue that is prevalent in diesel-powered vehicles is the collection of water in the fuel system. There are a few ways water can become present in your tank. Whether its condensation forming in the fuel tank, improper storage or handling, or a defective tank, moisture is bound to get in.
Most diesel vehicles have a Diagnostic Trouble Code (DTC) that will illuminate a light on the dashboard. This helps alert you when water is present in the fuel system. Normally there is a drain for the Water-In-Fuel (WIF) and you can simply open the drain to let some of the water out. Unfortunately, many owners don’t physically drain the water until they see a light pop up on the dash. It is a good practice to get in the habit of draining the WIF on a more regular basis. Draining it every time you change the oil can make it easy to remember. In many cases, this is enough to resolve the issue. If the WIF light is still illuminated after being drained it could be the result of an excess build-up of rust and sediment. When the WIF sensor fails it can also cause issues.
Ford 6.0L Powerstroke
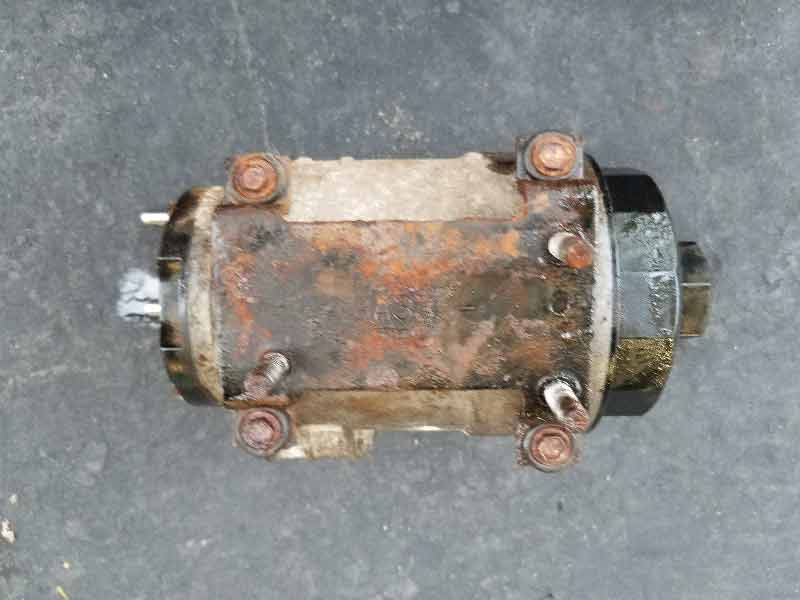
The 2003-2007 Ford 6.0L Powerstroke featured a horizontal fuel conditioning module (HFCM). When debris in the lower cavity builds up this can cause issues with the sensor reading properly and result in the WIF dash light not turning off. Typically draining the WIF is done by removing the plug and letting the water drain into an appropriate container. With the dash light remaining on in this case, even after draining the water, we will now physically remove the HFCM and open it up for examination.
HFCM Removal
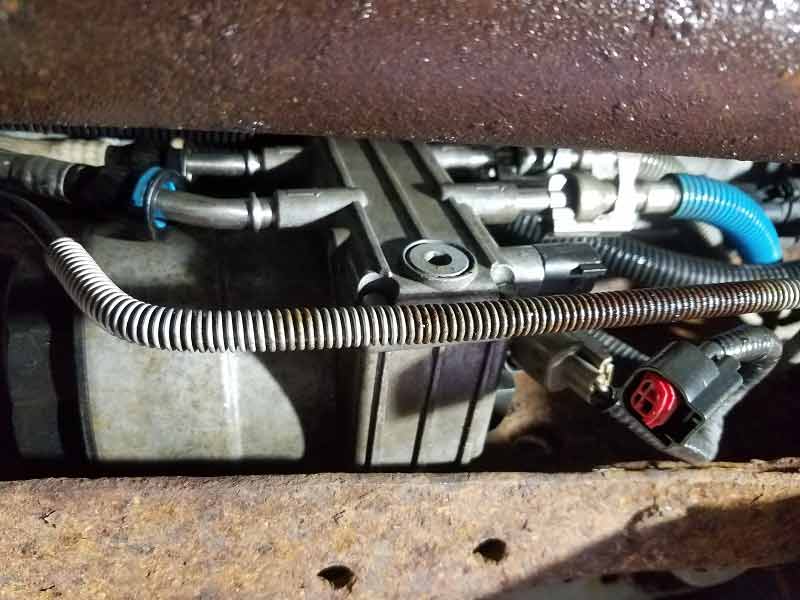
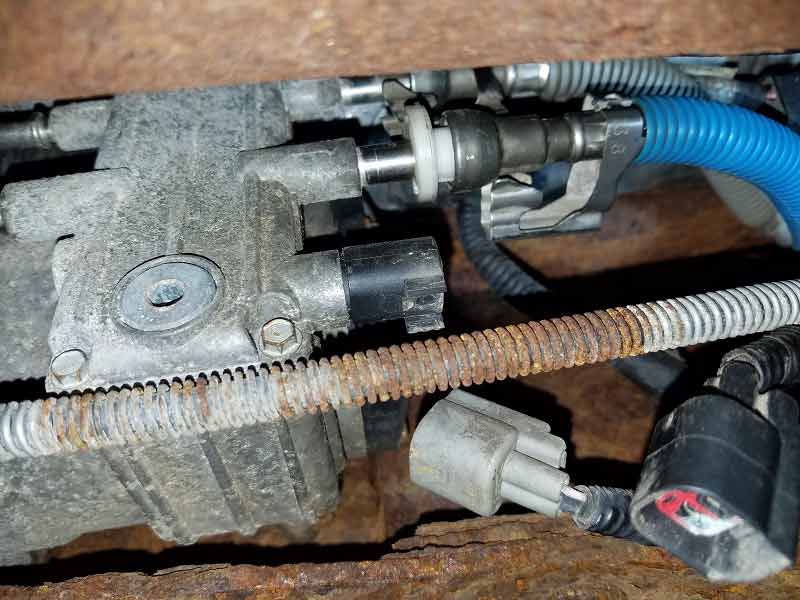
On this 2003 Ford 6.0L, the WIF light continues to appear and is setting a P2269 DTC. We will remove the HFCM for a closer examination and thoroughly clean it out. The HFCM is mounted on the inside of the Driver Side frame rail between the engine and the fuel tank. To begin the process, remove the two electrical connections. Carefully depress the tabs and gently pull the electrical connector one at a time.
Note: The Ford 6.0L Powerstrokes were originally equipped with a Fuel Heater on the HFCM manifold. Beginning on 5/16/2005 the fuel heater was removed. After this technical service bulletin (TSB) was released, many trucks eventually had the heating element manifold replaced.
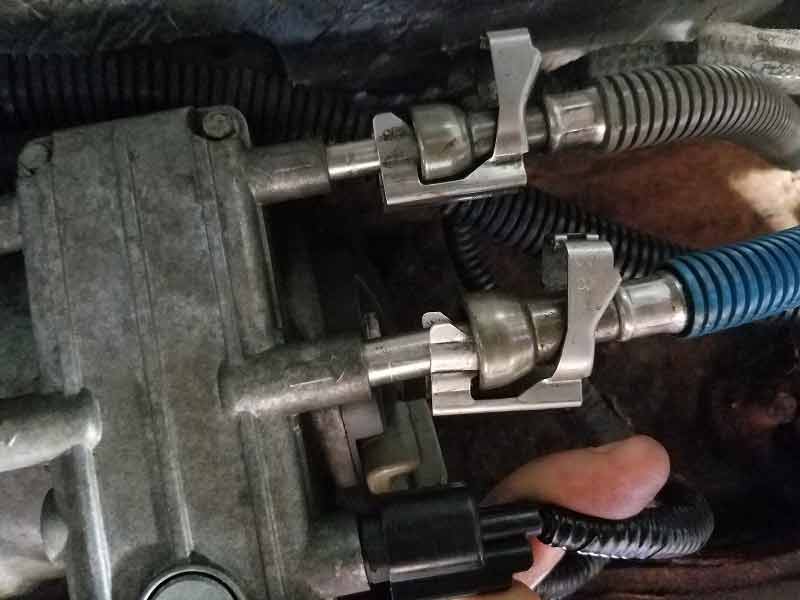
Disconnect the Fuel Lines
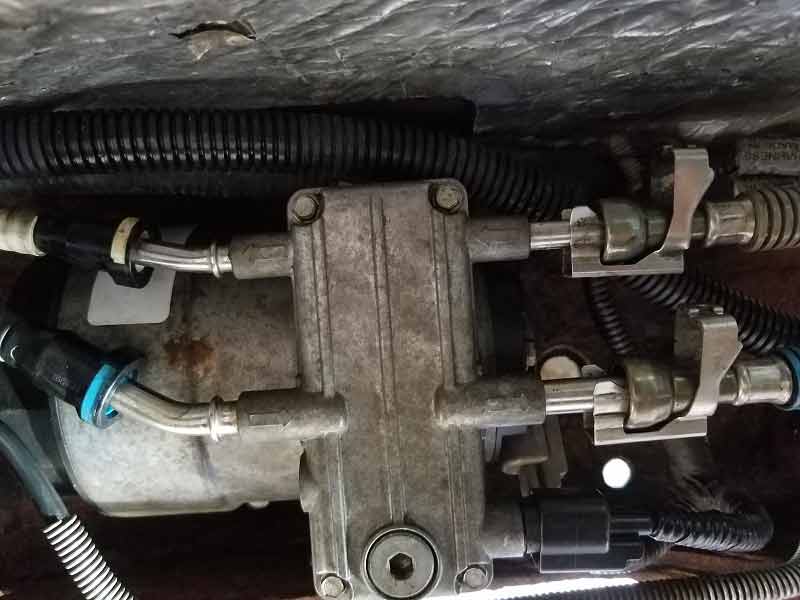
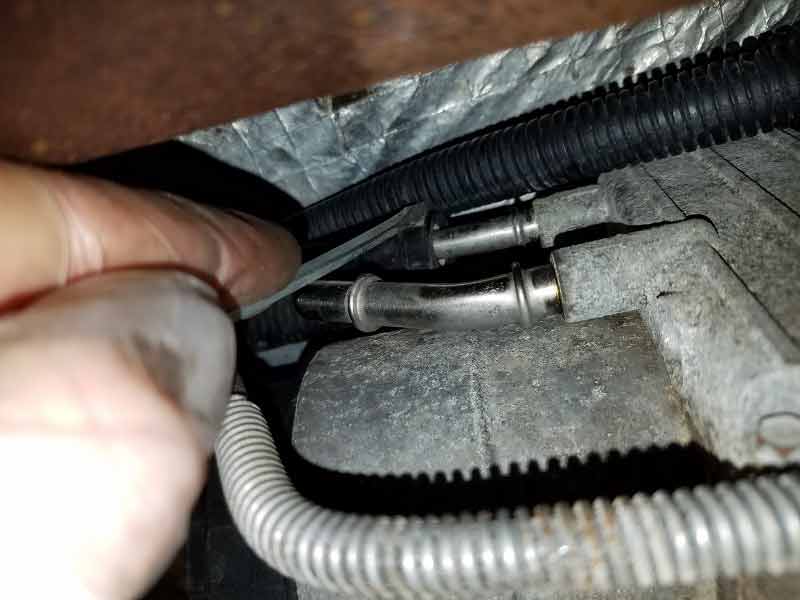
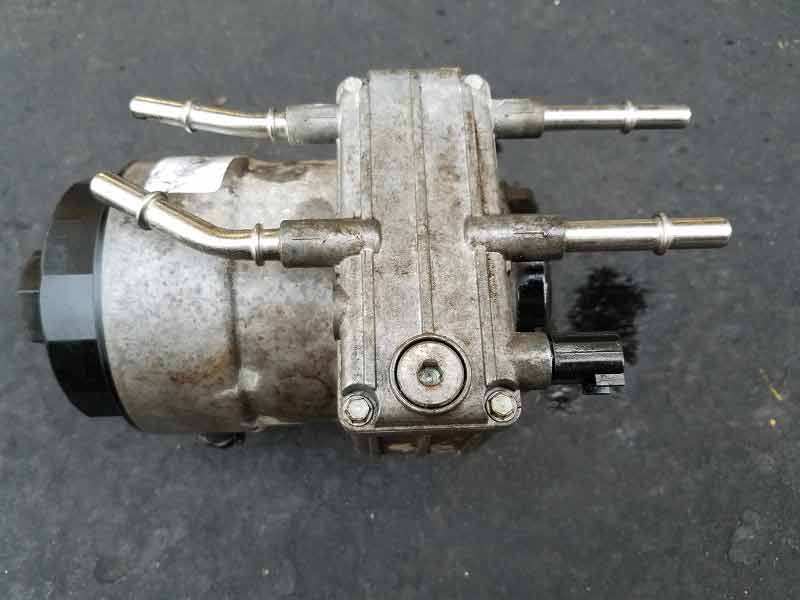
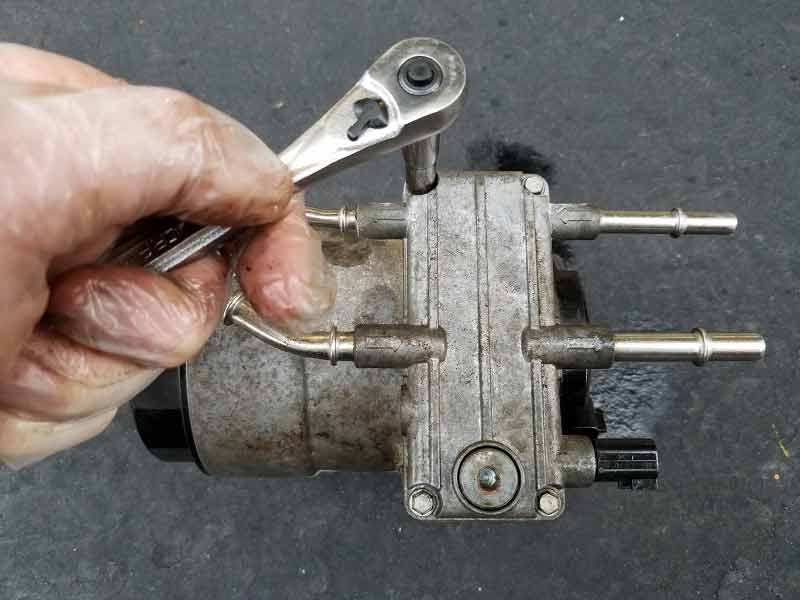
Next, remove the fuel line locks (engine side). The two lines on the right require a fuel line removal tool to release the lines to the engine. To remove the lines coming from the fuel tank simply depress the tabs with a small screwdriver and pull to release.
Removing from the Frame
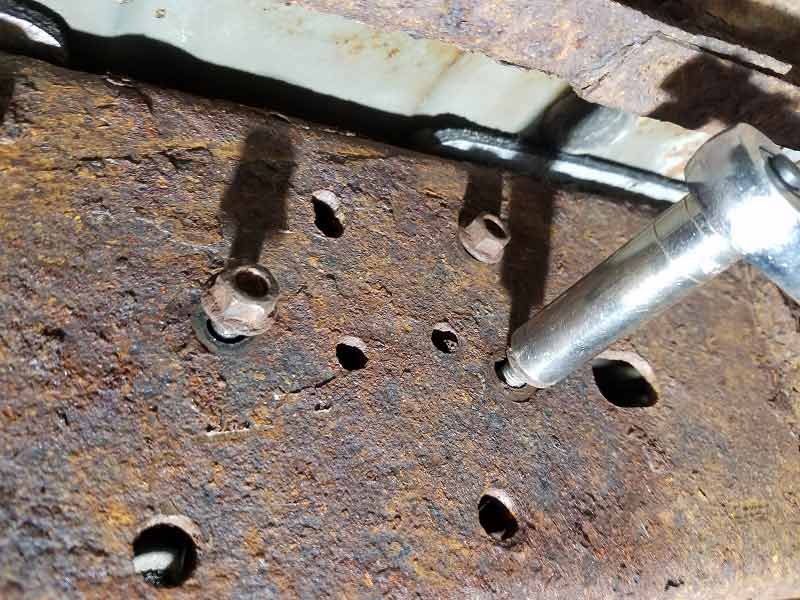
With the electrical connections and fuel lines disconnected, you can now move to the outside of the frame rail. A bracket attached to the HFCM secures it to the frame rail with three studs. Spray the three 13mm nuts with penetrating oil and remove the nuts holding the unit in place. It can be difficult to remove the HFCM with the front driveshaft in place if the vehicle is on the ground. Many people will remove the front driveshaft or unbolt the front u-joint and let the driveshaft hang down in the front. To save time, simply jacking up the front of the truck will change the angle of the driveshaft. This will typically give you enough room to remove and reinstall the HFCM without removing the driveshaft.
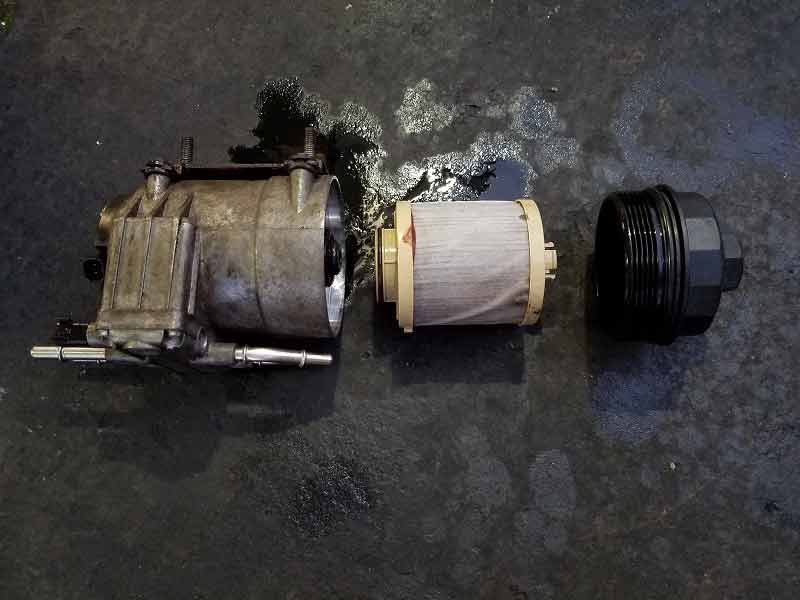
Remove the Manifold
With the HFCM now out, you can remove the 4 bolts that attach the manifold (front cover) to the HFCM.
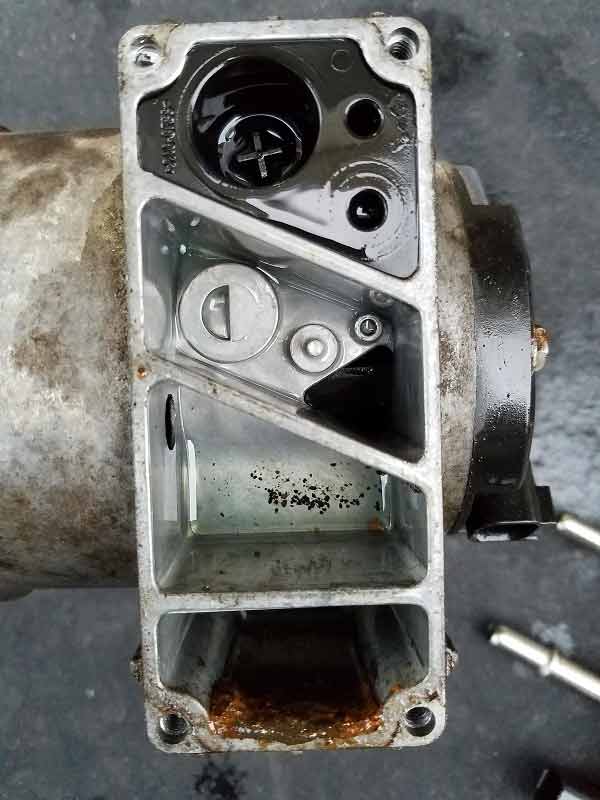
Rust & Sediment Build Up
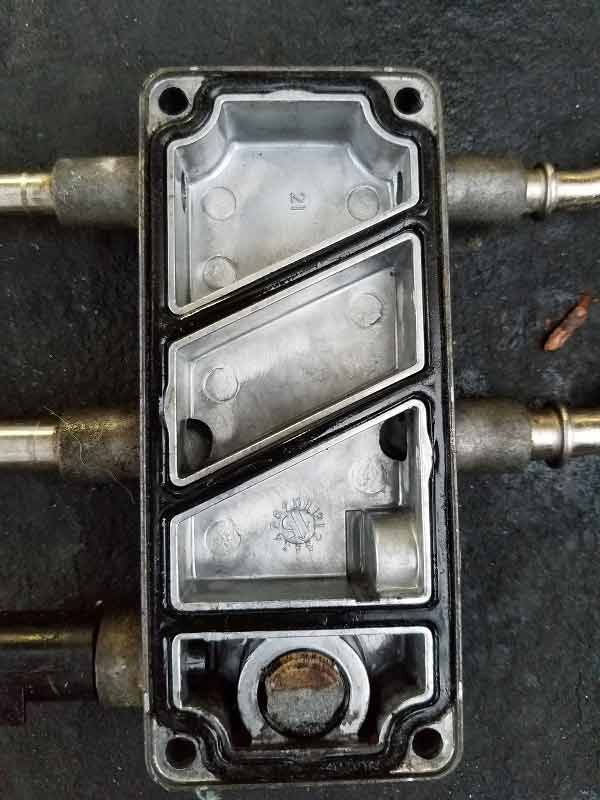
With the manifold removed, the rust and sediment build-up are easy to see. Rust accumulated in the lower cavity can be a sure sign the HFCM was not drained often enough.
Cleaning the HFCM
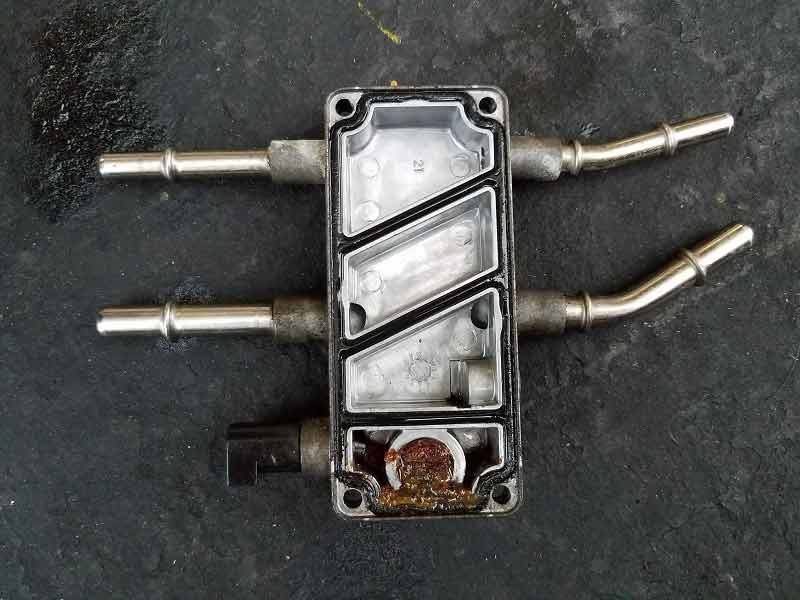
A closer look at the inside of the manifold shows the amount of sediment that has accumulated. Rust and sediment can cause issues if they are contacting the WIF sensor. Begin by cleaning and removing all the sediment from the manifold and HFCM. Wipe away any large portions of the sediment with a rag or small brush. Next, begin to spray the parts with a brake parts cleaner.
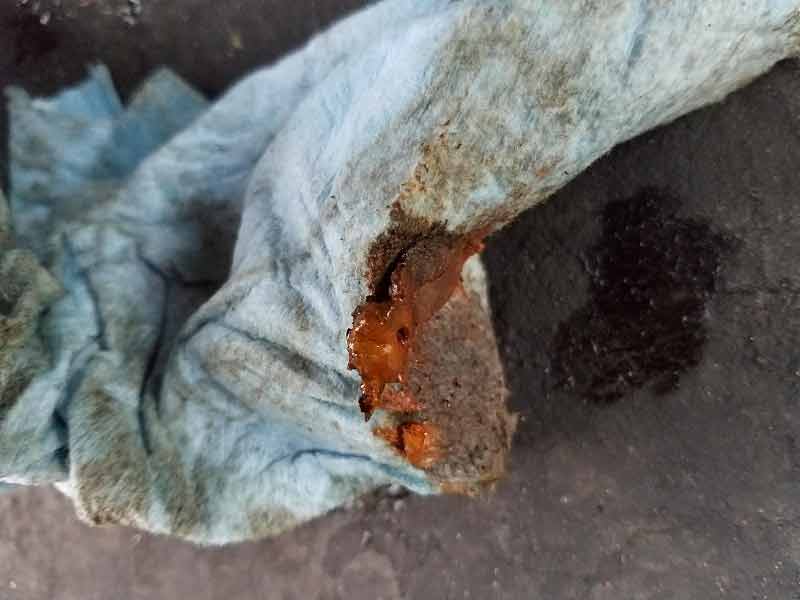
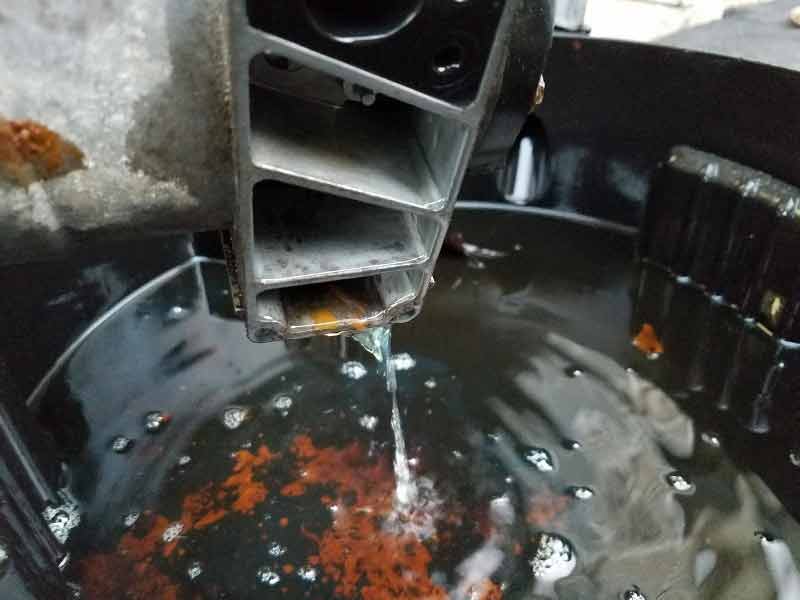
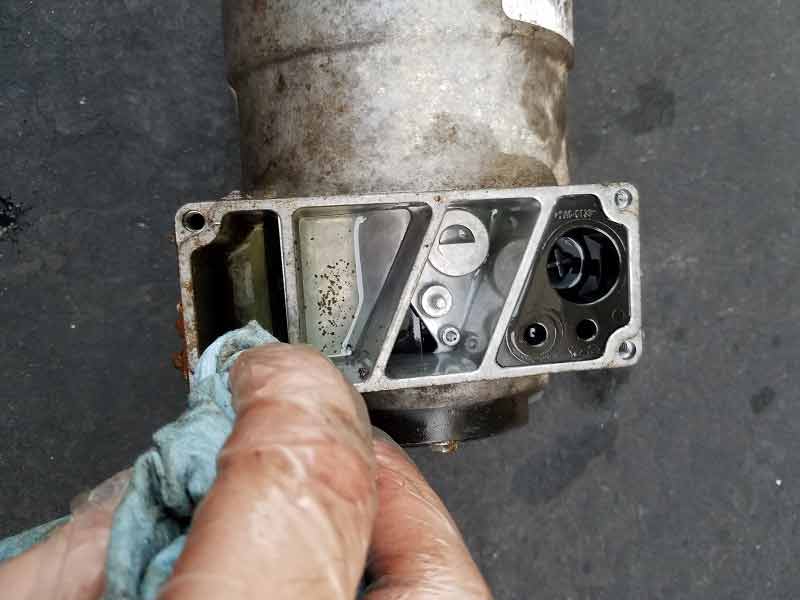
Looking at the rag after a quick wipe shows just how much sediment was present. Hold the HFCM and manifold over a catch container and continually spray with the brake parts cleaner. Make sure to drain and clean until all metal surfaces are clean.
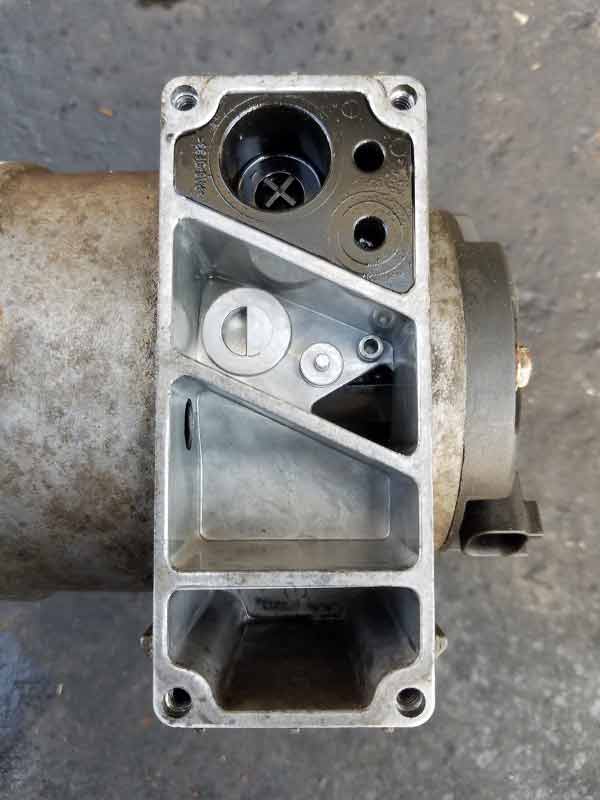
After a thorough cleaning, the manifold and HFCM should begin to see a noticeable improvement.
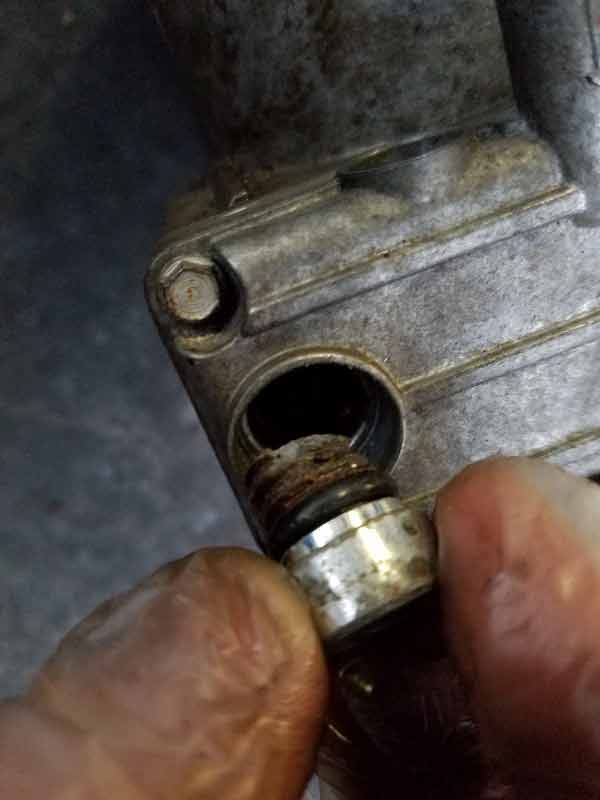
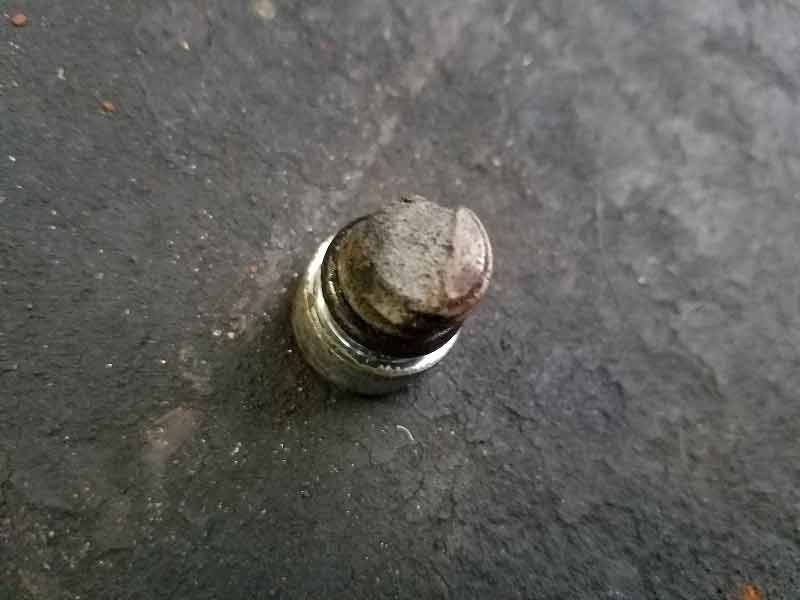
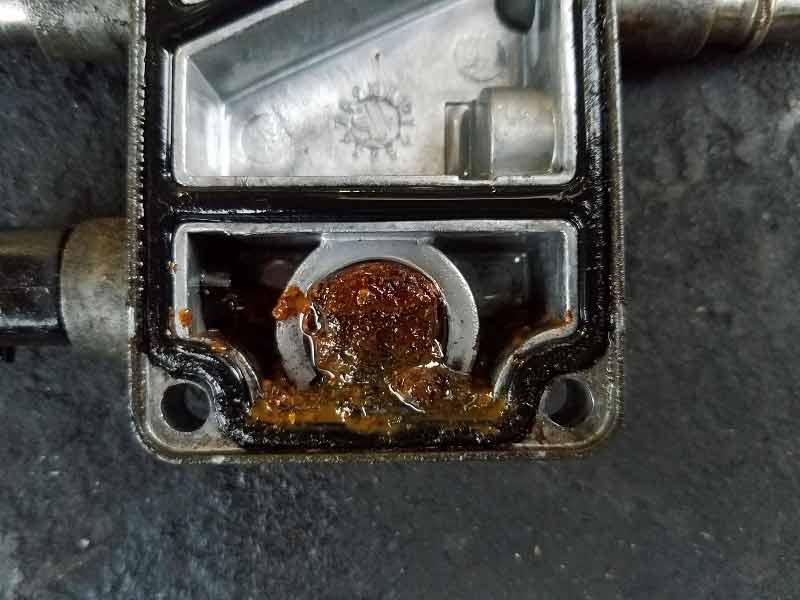
Drain Plug
A closer look at the drain plug shows just how much corrosion is present. Being submerged in water for such an extended period has rusted off a large portion of the tip.
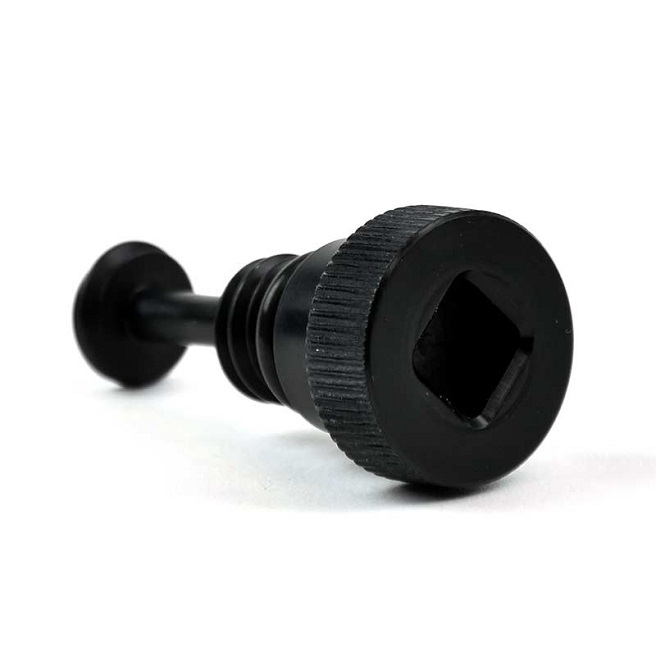
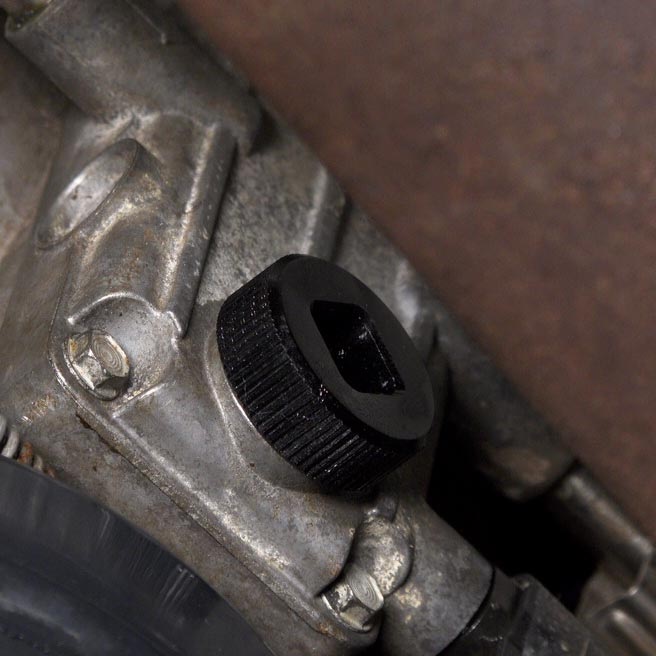
HFCM Water Separator Drain Plug Upgrade
Whether your stock drain plug is severely rusted or has no damage replacing the drain plug can be a worthwhile investment. An upgraded drain plug such as the XDP HFCM Water Separator Drain Plug Upgrade XD327 offers a knurled perimeter that speeds up removal. A simple twist by hand without the need for any tools helps to make the process go even faster. If the drain plug ever gets too tight to open by hand, there is still a provision for a 3/8″ ratchet. The built-in retaining shaft helps wick the fuel away from the driveshaft and prevents the plug from falling out.
Reinstalling the HFCM
If you are due for a fuel filter change, now is a good time while the HFCM is out. Installation is reverse of removal. Slide the HFCM into place and fasten the three mounting nuts to the frame rail. Reconnect the fuel lines and make sure to reinstall the fuel line locks. Finally re-connect the electric connectors that were removed.
Prime the Fuel System
The final step and one of the most important is to prime the fuel system before starting the engine. Attempting to start the engine even for a few seconds without priming the fuel system can cause serious damage to the fuel injectors. Simply turn the key to the “On” position for 30 seconds (similar to initiating the glow plugs) and then back to the “Off” position. Repeat this procedure a minimum of three times to complete the process. After you finish the priming process, you are now ready to start the vehicle.