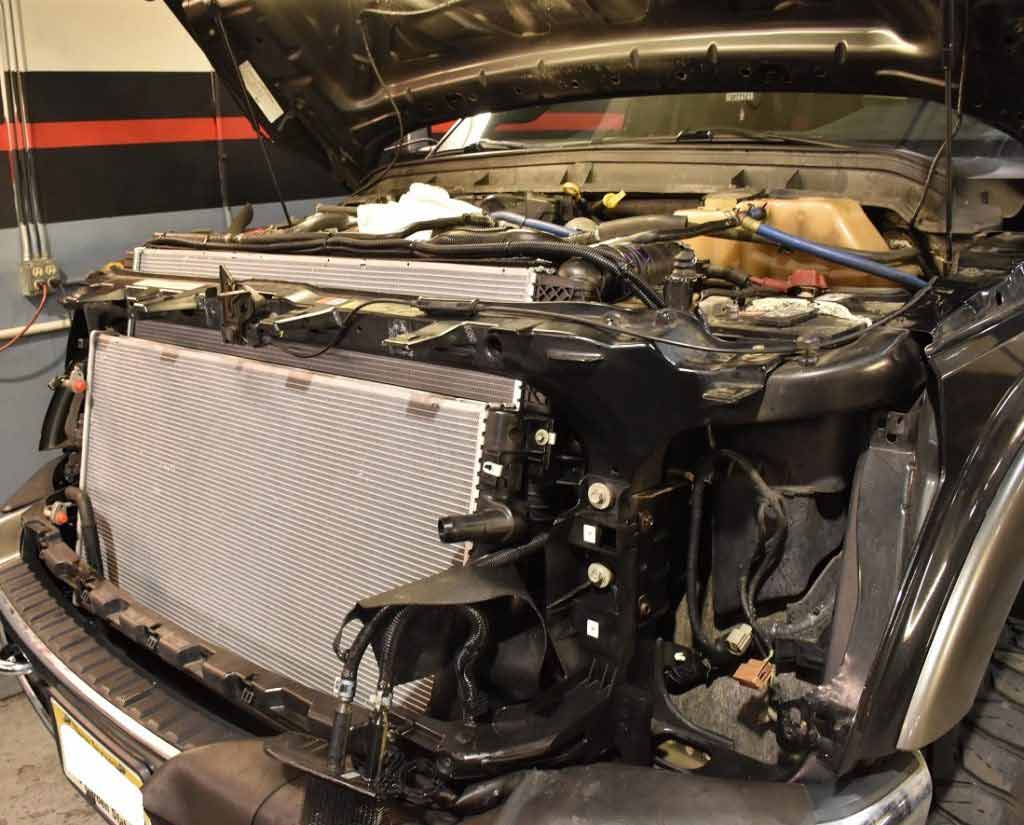
Radiator failures are a fairly common issue in the late model Powerstroke trucks. On this 2012 Ford F-250, the cooling system has seen its share of heat cycles, as this Super Duty has clocked over 200K miles on the odometer. Follow along as we detail the procedure for replacing the main and secondary radiators on this 6.7L Powerstroke.
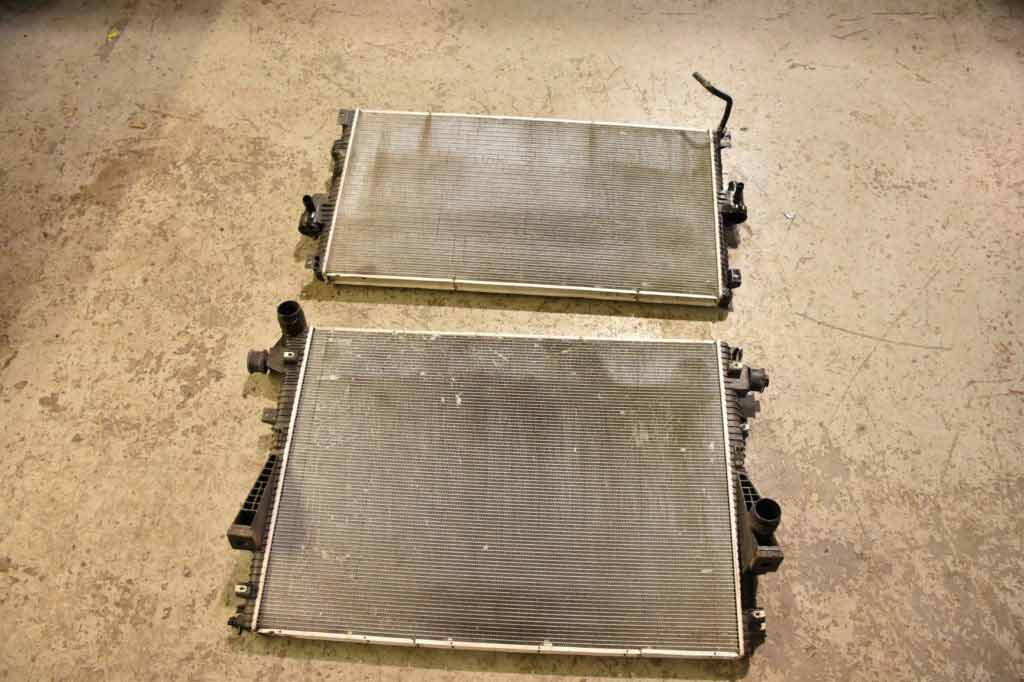
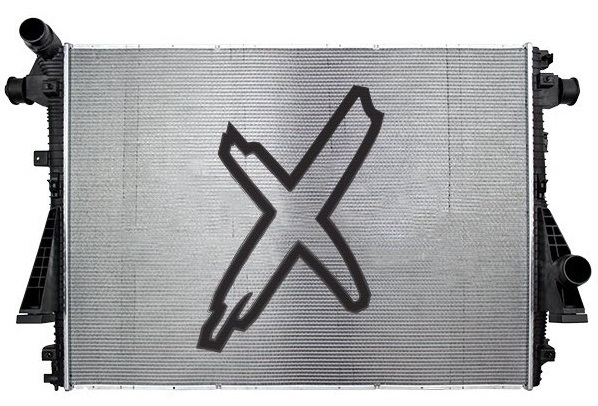
The chosen components for this repair are the XDP X-TRA Cool Direct-Fit Replacement Radiators (XD291 & XD299). Part of the XDP X-TRA Cool line-up, these radiators feature enhanced construction techniques borrowed from the HD and semi-truck industry. In addition, better materials are used during the manufacturing process such as a high-efficiency core, heavy-gauge steel crimp strips, and fiber-reinforced end tanks with added support ribs. These upgrades provide you with a direct replacement that’s more durable than the original.
Part 1 – Disassembly & Draining the Cooling System
1. Remove the grille
Remove the plastic push clip holding the vent tube to the side of the grille.
Unbolt the 4 x 10mm bolts from the top of the grille. Pull the grille and set it to the side.
2. Remove the headlights
Remove the 4 x 10mm bolts holding each headlight. Undo the harness to the headlight assemblies and place the assemblies in a safe place.
3. Remove the lower grille bracket
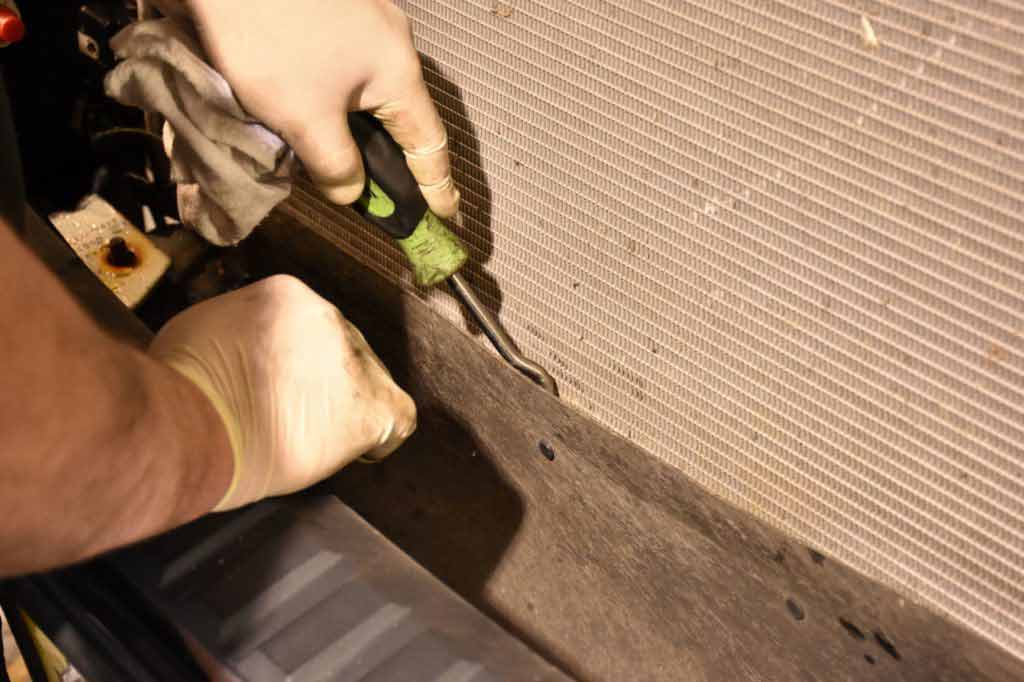
Remove the push clip. Unfasten 2 x 13mm bolts on each side and 1 x 10mm bolts on each side. Gently pull back the tabs on the sides to unclip the bracket assembly (Fig 1).
4. Take off the radiator caps
Make sure the engine is cool before removing the caps. This will release pressure on the cooling system and prevent vacuum lock when draining.
5. Place a bucket under the drain plugs (driver and passenger side)
It is important that you catch and properly dispose of all coolant that you drain from the vehicle. Aside from being damaging to the environment, the coolant is highly toxic to humans and animals.
6. Drain the radiators
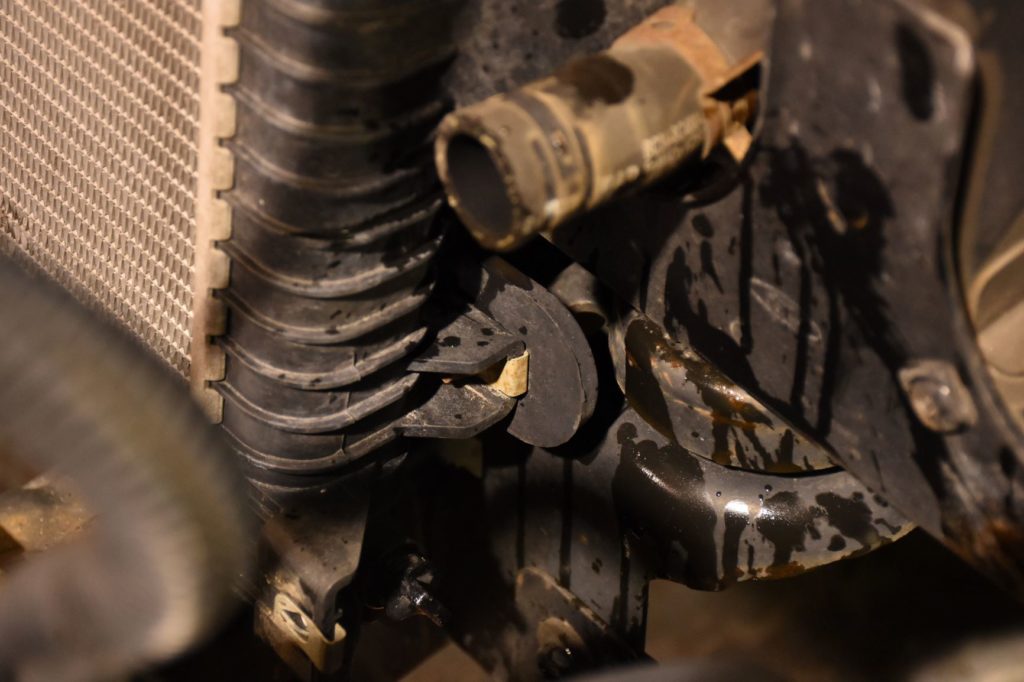
Remove the push clip holding the rubber shroud in place over the drain plug. Take a spare piece of ¼” rubber hose and attach it to the bottom nipple on the drain (Fig 2). Make sure to have two buckets necessary to catch the coolant. Using a pair of pliers loosen the drain plug on the secondary and main radiators (Fig 3).

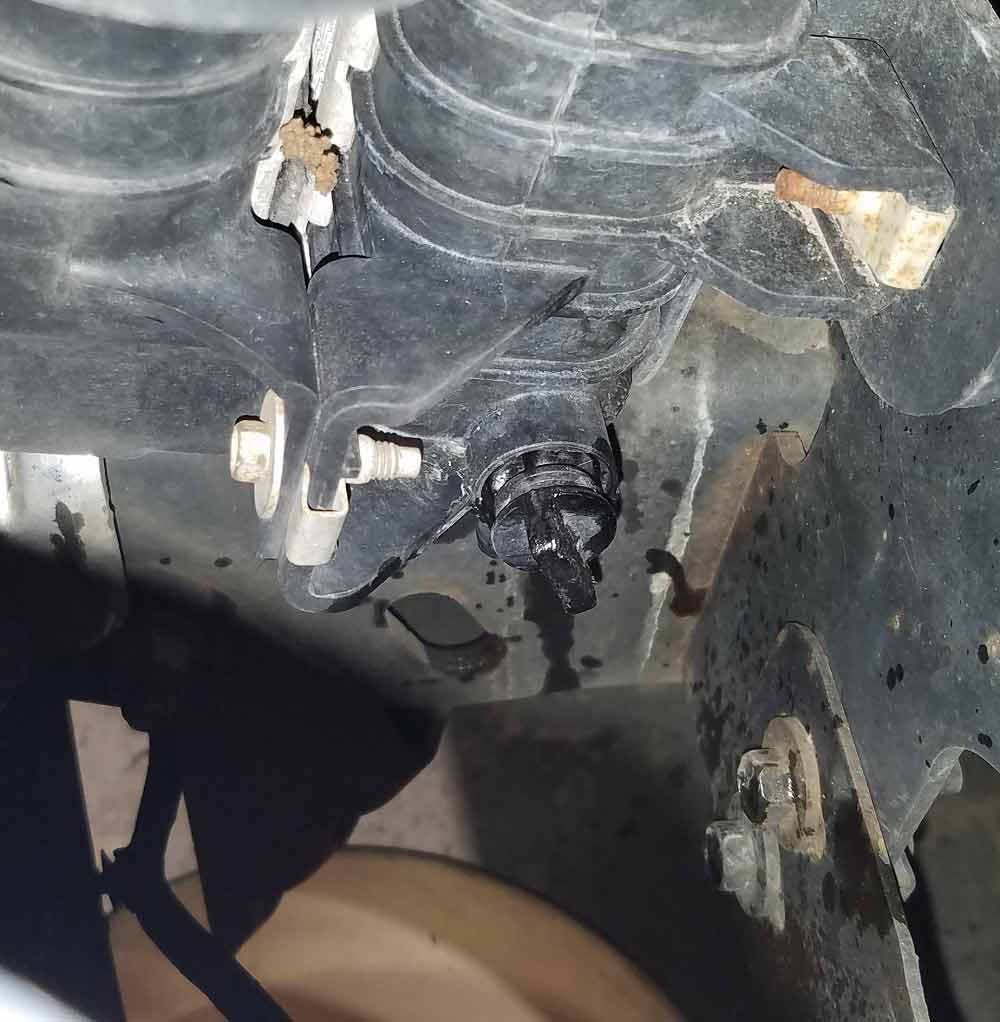
Fig 3. Turn the drain plug counter clock wise to drain.
7. Remove the trans cooler
Unbolt the 2 x 10mm bolts attaching the trans cooler bracket to the core support. Remove the transmission cooler and carefully let it hang to the side.
8. Undo the hood release cable
Gently use a pick or small flat screwdriver to open the plastic cover to access the hood release cable. Disconnect the hood release cable and remove the clip holding it to the core support.
9. Remove the hood light switch
This is simply held in place with a single 10mm bolt.
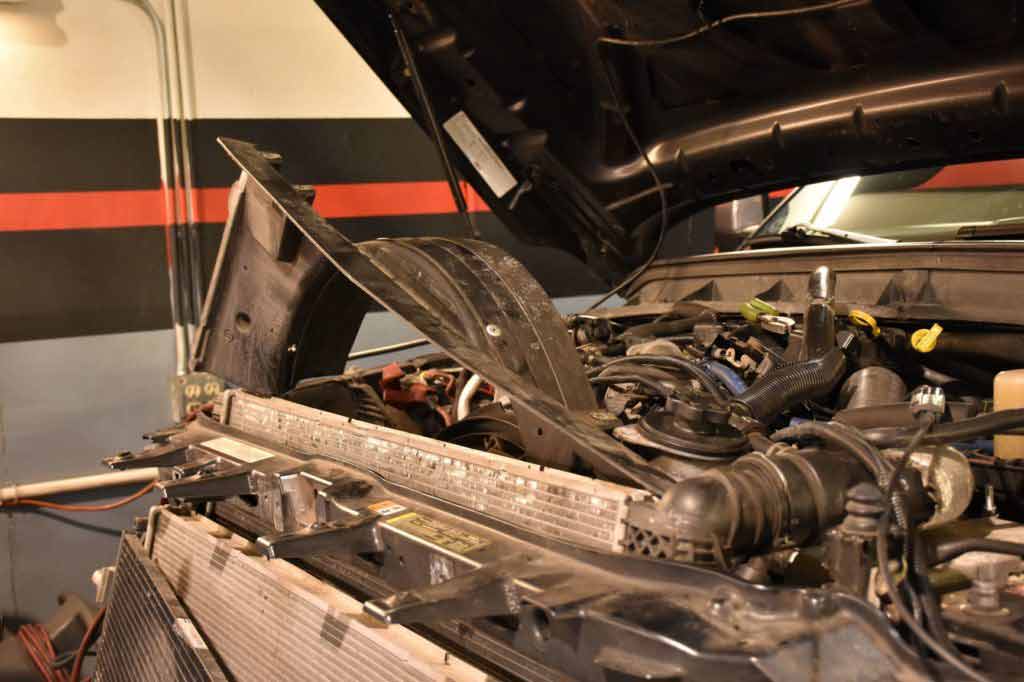
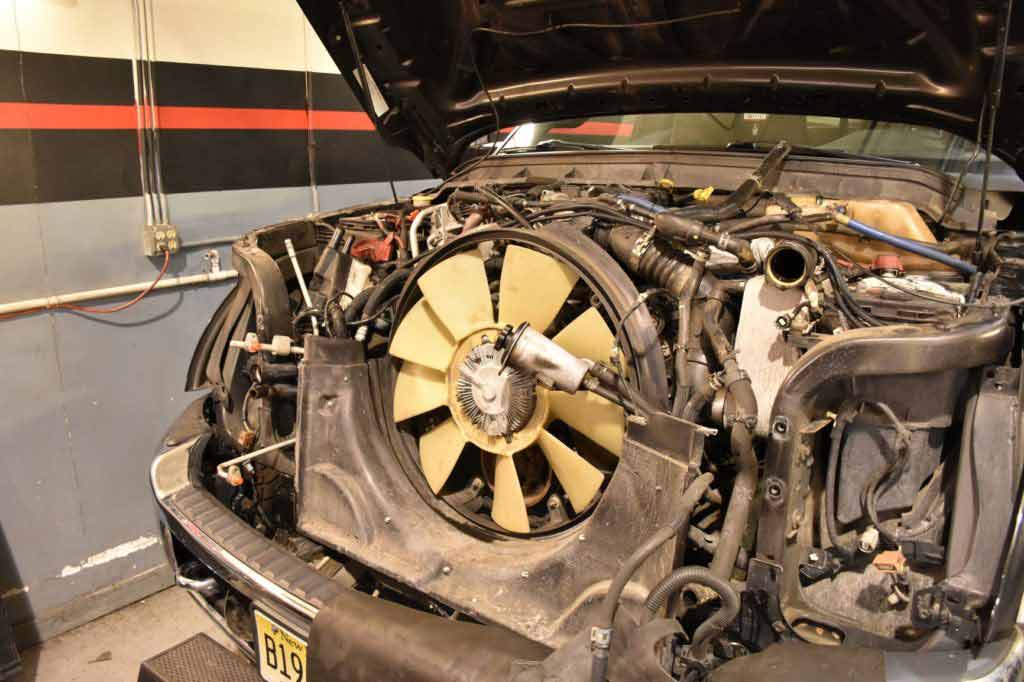
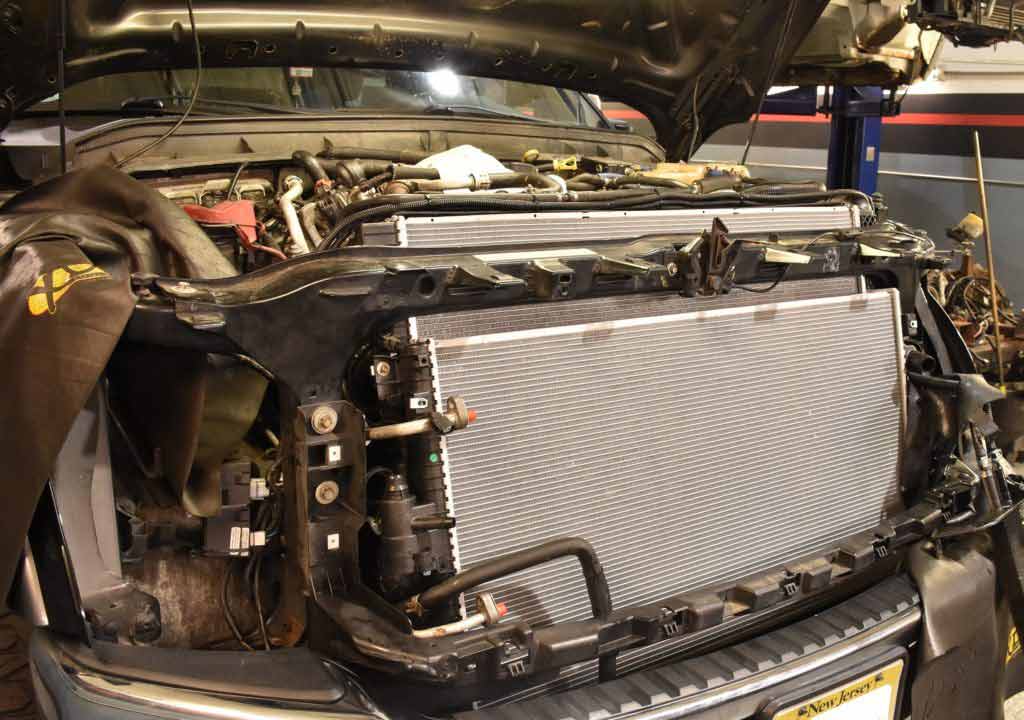
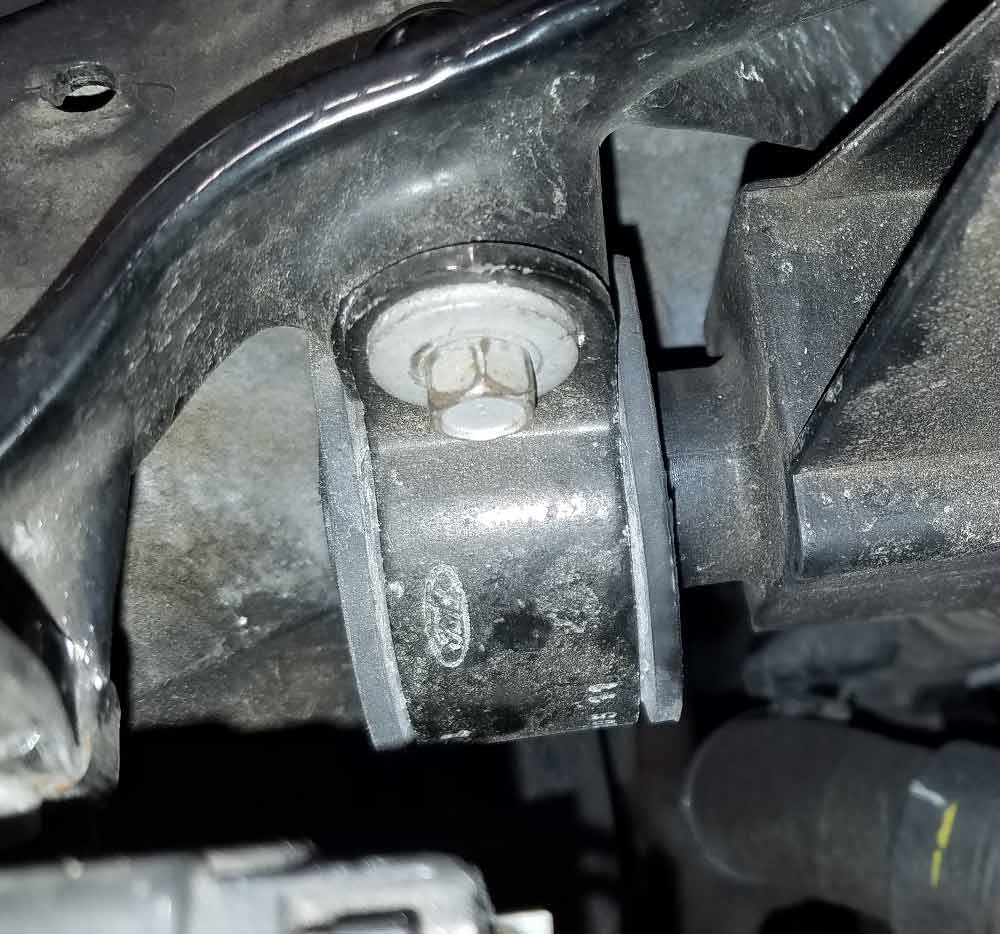
10. Remove the upper radiator support
Remove the 4 x 10mm bolts holding the upper radiator mounts in place (Fig 4). Next, loosen the 2 x 13mm bolts on top of the radiator support. Unplug the horn assemblies. Carefully lift the radiator support up and away from the vehicle.
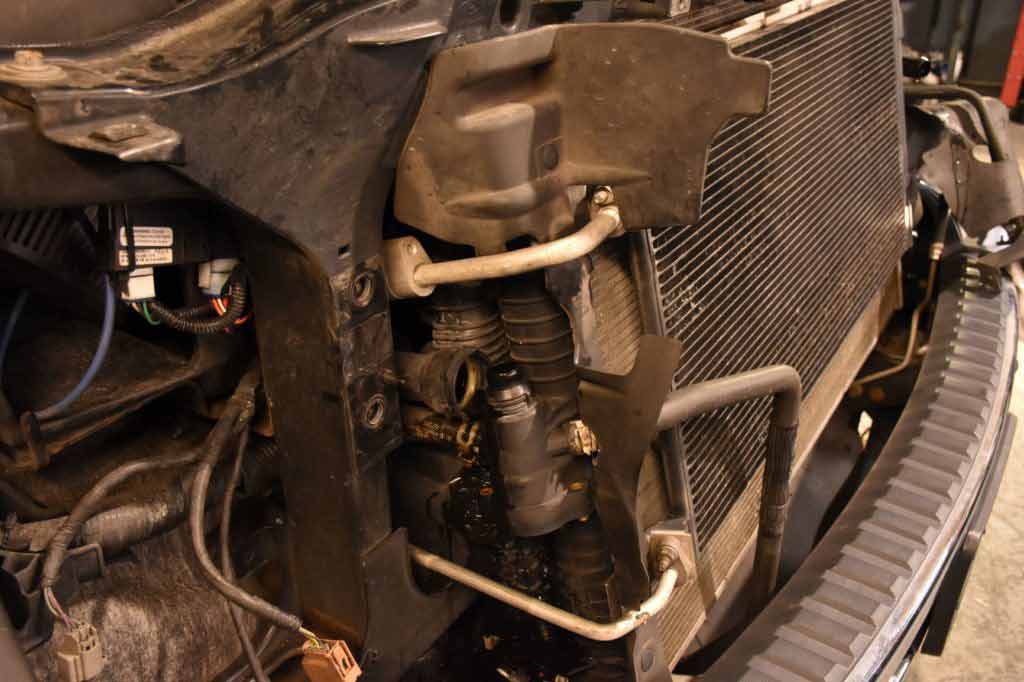
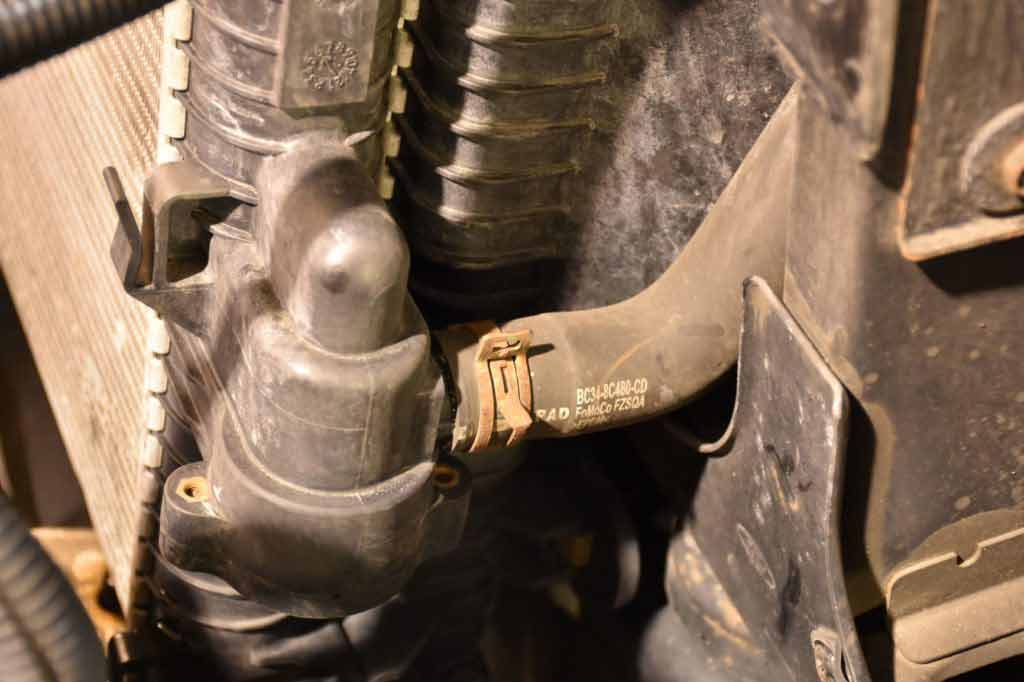
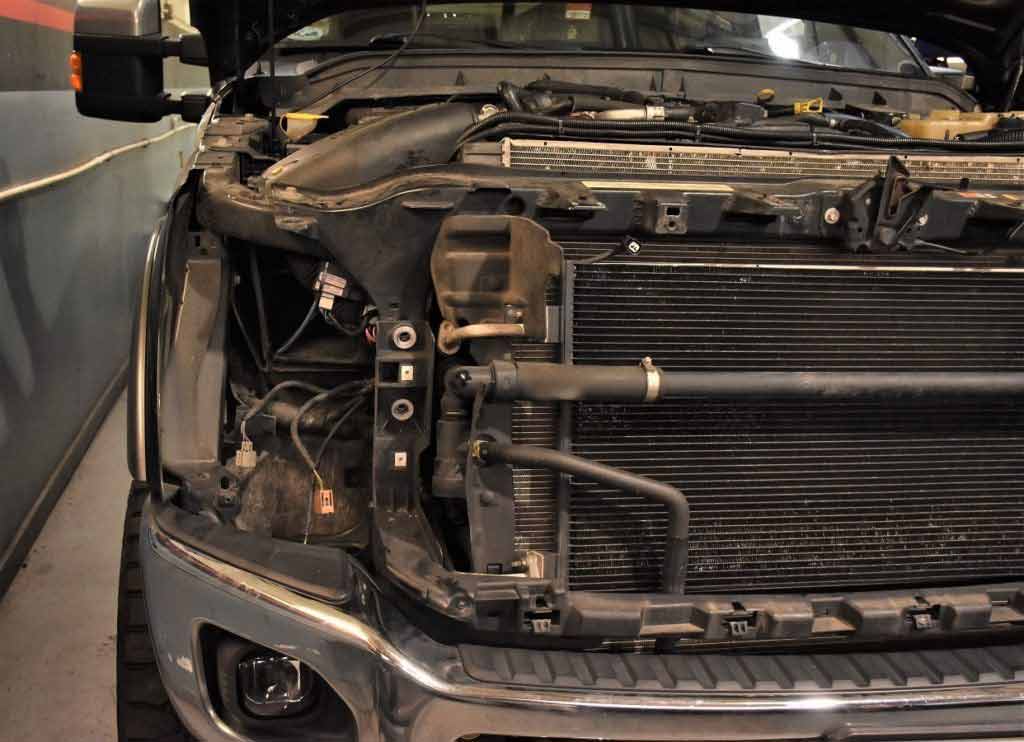
11. Remove the crossover pipe
Pull the plastic push clip holding the rubber flap on the driver’s side. Loosen the worm gear clamp on the crossover pipe. Release the metal clips for the quick disconnects on the secondary radiator using a pick tool. Pull the two clips on the rubber flap on the passenger side. Unfasten the bolts holding the AC Condenser to the secondary radiator. Remove the hose clamp and hose for the secondary radiator with a pair of pliers. Swing the AC condenser out slightly and rest it on the bumper. Lay a towel or mat on the bumper for protection.
*Note: The AC system was evacuated and the AC Condenser was physically removed during our installation but this step is not required. The Condenser can be left in place and swung out of the way when replacing the radiators.
12. Remove the secondary radiator
Remove the passenger side rubber flap. Disconnect the 3 remaining hoses on the back of the secondary radiator with pliers. (2 on the passenger side, 1 on the driver side). Unscrew the 4 x 8mm bolts holding the secondary radiator to the primary radiator. Remove the secondary radiator from the truck (Fig 5).
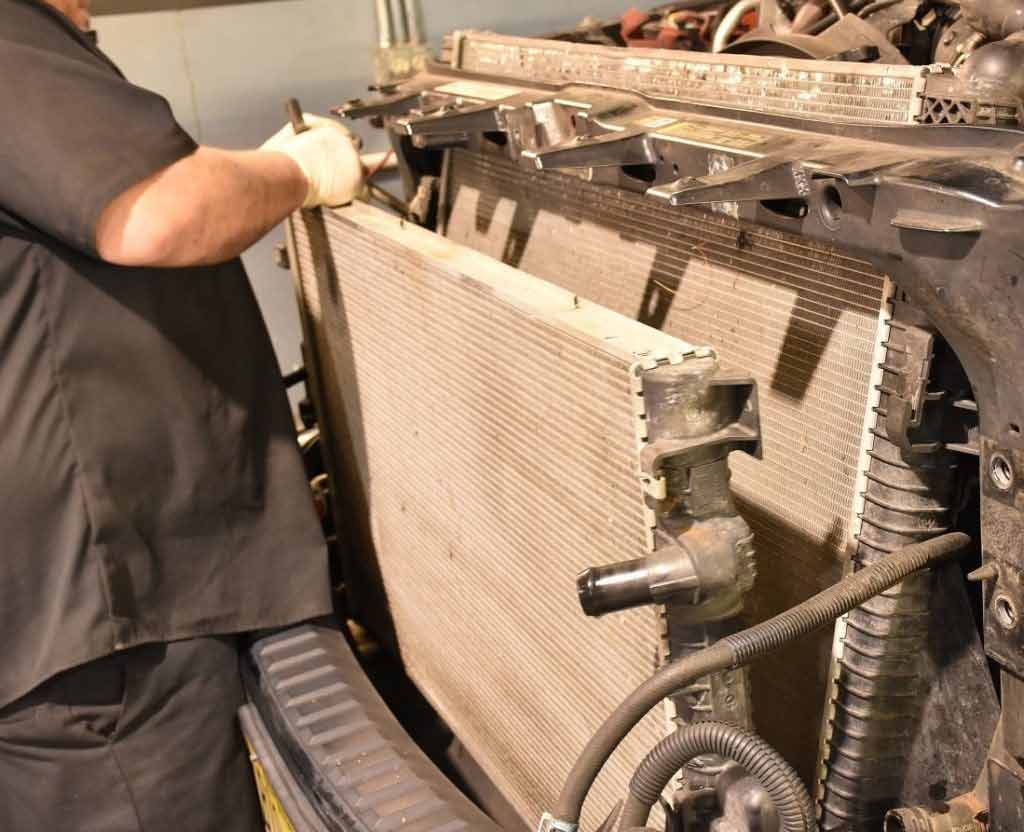
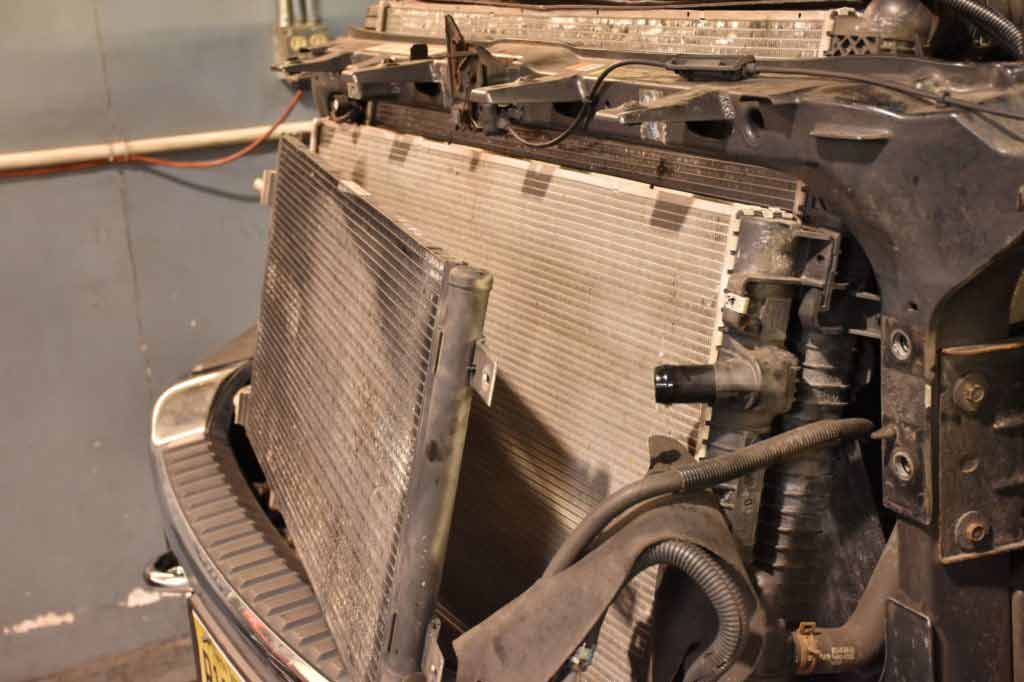
13. Remove the main radiator
Disconnect the overflow hose with pliers. Pull the plastic clip with a pick and pull the lower radiator hose off. Unhook the hose from the main radiator. Unscrew the 4 x 8mm bolts holding the fan shroud. Lift the fan shroud to unhook it from the main radiator. Finally, remove the main radiator from the truck (Fig 6).
Part 2 – Installation
While the XDP X-TRA Cool Radiators feature upgraded designs, they are still a direct-fit replacement. This means there is no cutting or modifications required to the vehicle for installation. They simply bolt in place of the factory component during installation.
14. Swap all necessary hardware over to the new radiator
Remove the 6 plastic push clips holding the rubber hood gasket and transfer it over to the new radiator.
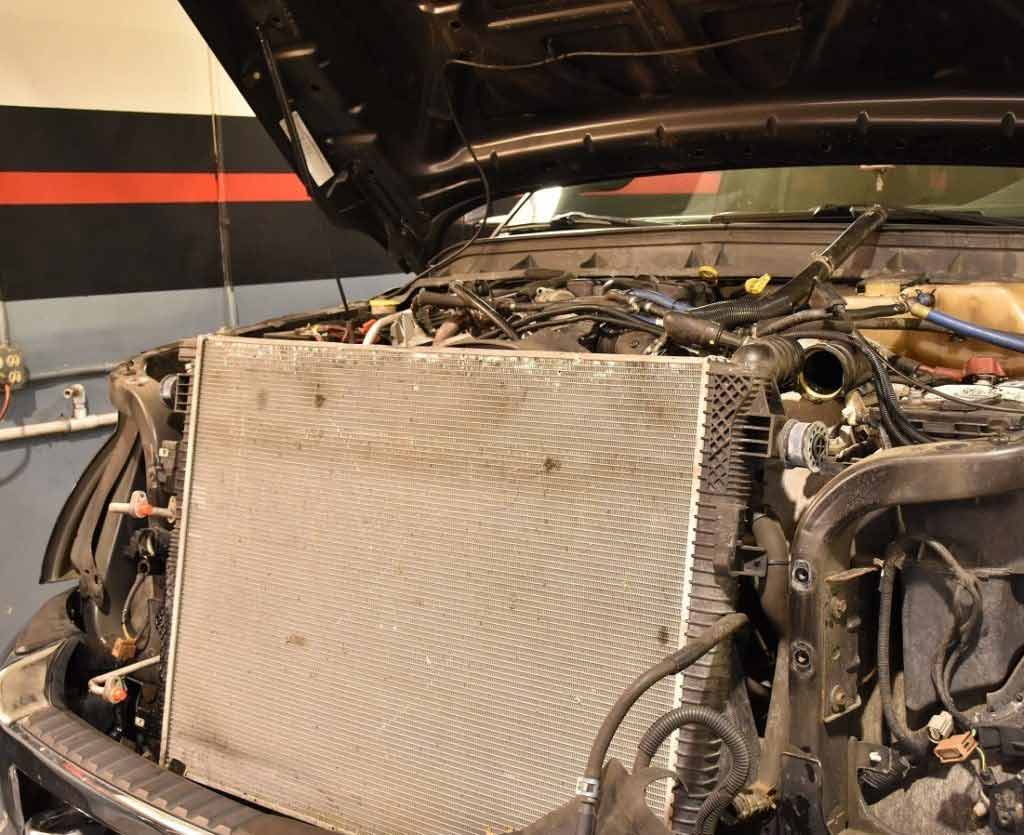
15. Install the main radiator
Place the X-TRA Cool Main Radiator into position and hook the fan shroud back onto the radiator. Reinstall the fan shroud bolts. Connect the upper and lower radiator hoses. Push metal clips back in place and then slide the hoses on until you hear the click. Reinstall the overflow hose.
16. Install Secondary radiator
This is an ideal time to install new thermostats into the X-TRA Cool Secondary Radiator. Install the secondary radiator and fasten it in place with the original bolts. (Fig 7). Using a pair of pliers, reinstall the 3 secondary radiator hoses. Place the passenger-side rubber gasket back into position. Swing the AC Condenser back into position and bolt it into place. Reconnect the hose to the secondary radiator thermostat housing. Mount the crossover pipe and the worm gear clamp. Refasten the trans cooler line and reattach the driver-side rubber flap.
17. Reinstall the upper radiator support
Install the upper radiator support. Reinstall the OEM brackets over the rubber bushings/mounts and tighten the 2 bolts on each side. Mount the hood light switch. Plugin the horn harness. Place the transmission cooler back in position and tighten the bolts. Connect the hood release cable and mounting clip.
18. Install the grille and headlights
Reinstall the lower grille bracket. Connect the bulbs back into the headlight assemblies and bolt the assemblies back into place. Reinstall the front grille.
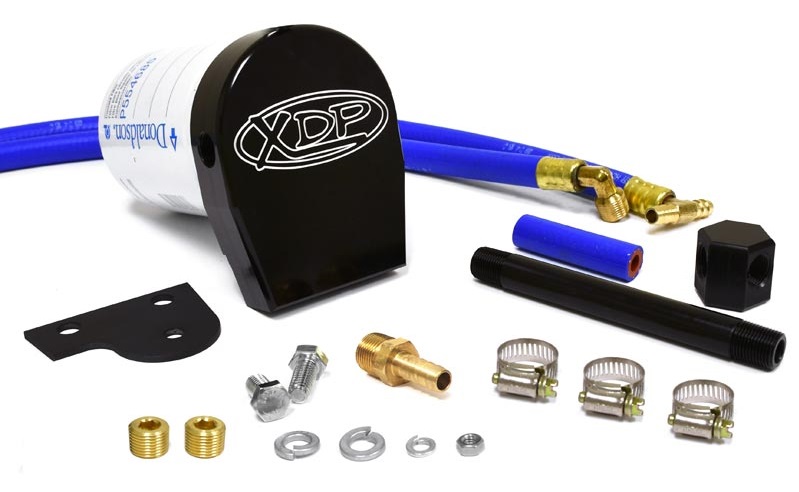
This is also an ideal time to add a Coolant Filtration System if you do not already have one! The XDP 6.7L Coolant Filtration System XD192 for the 2011-2016 Ford 6.7L Powerstroke helps keep your cooling system free from debris such as casting sand, and other contaminants which is crucial to the life and performance of your engine.
Part 3 – Refilling the Cooling System
19. Verify that you have the correct coolant
You will need to consult your owner’s manual or service manual for proper coolant specifications.
20. Pour up to the fill line
Begin to fill the reservoir tank to the cold fill line. You may need to add additional coolant once the engine circulates what you add. Make sure you fill both the primary and secondary radiators. Vacuum fill systems are a popular tool if you have access to one. This dramatically reduces cooling system refill time, without the mess and helps prevent air-locks. Simply plug it into the workshop airline, attach it to the cooling system and create a vacuum. The cooling system will take approximately 29-35.1* qts (7.25-8.75 gallons). *Total can vary by model year.
21. Start the truck
Once the system is filled, start the truck and turn the heat on high. After you have brought it up to operating temperature check for any leaks and top off the coolant if necessary.